CAMERA SETUP
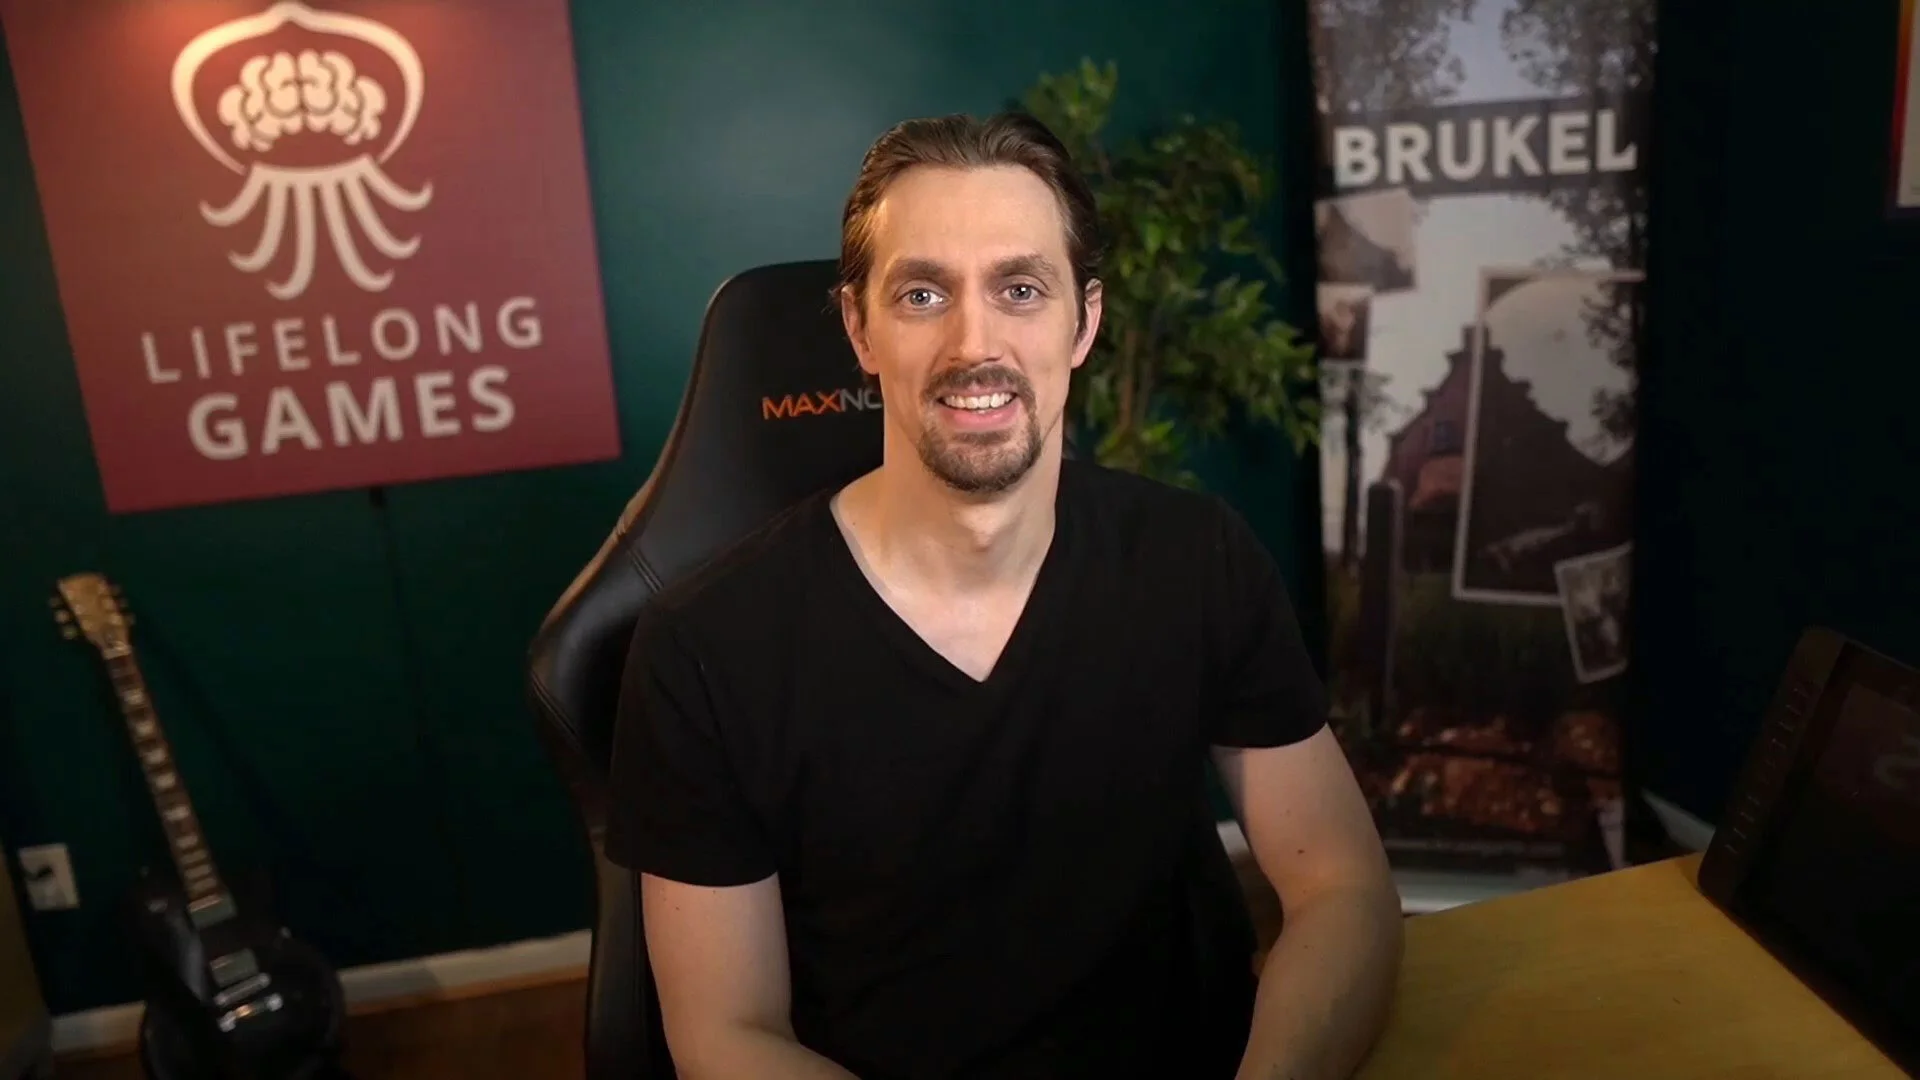
This is an overview of the camera setup that I used since the fall of 2020.
VIDEO
- Lenses:Originally: Sigma contemporary lens - 16mm F1.4 DC DN for Sony E-MountCurrently: Tamron 17-70mm f/2.8 Di III-A VC RXD Lens for Sony E APS-C Mirrorless Cameras
- BestView T2 smartphone/tablet teleprompter with PromptSmart
The Sony A6400 is a 4K camera that does not overheat when recording for a long a time and that has a quick auto-focus (which is very helpful for instructional videos where you have to show physical objects in front of the camera). It also allows you to flip its LCD screen so that you can check your framing, the audio levels and its auto-focus while recording.
As for the lenses, I originally used the Sigma 16mm prime lens which provides a nice, wide view. While it can give you a bit of a fish-eye effect, the benefit of using a 16mm is that it will allow you to record in a small space with the camera nearby (while still having room for a backdrop or visuals next to you). If you only are doing wide “talking head” style shots like the one above, this is a great budget-friendly option.
However, more recently I have moved on to a Tamron 17mm - 70mm zoom lens, which allows for more narrow shots at a further distance as well as shots similar to the ones from the 16mm Sigma lens. Unfortunately, the price tag for this kind of flexibility is about double the amount, so I would only recommend it if you know that you need it.
Promptsmart allows for faster recording times and a better (hands-free) delivery of your script as it will feed you your lines while you are talking through voice recognition. The BestView T2 is a bigger smartphone/tablet teleprompter which is important as the lens will otherwise have parts of it in view.
Finally, the Gonine Power Supply removes the need for batteries and the Elgato Cam Link connects the camera to the laptop through USB (also removing the need for a memory card).
Audio
- R∅de VideoMicro directional mic
A directonal mic will allow you to have video calls without people hearing themselves talk on your speaker. The R∅de VideoMicro also comes with a handy shock mount so that your mic does is not moving as you are working at your desk. It is plugged in the Sony A6400 so that the Elgato Cam Link will route the audio from the camera to the computer.
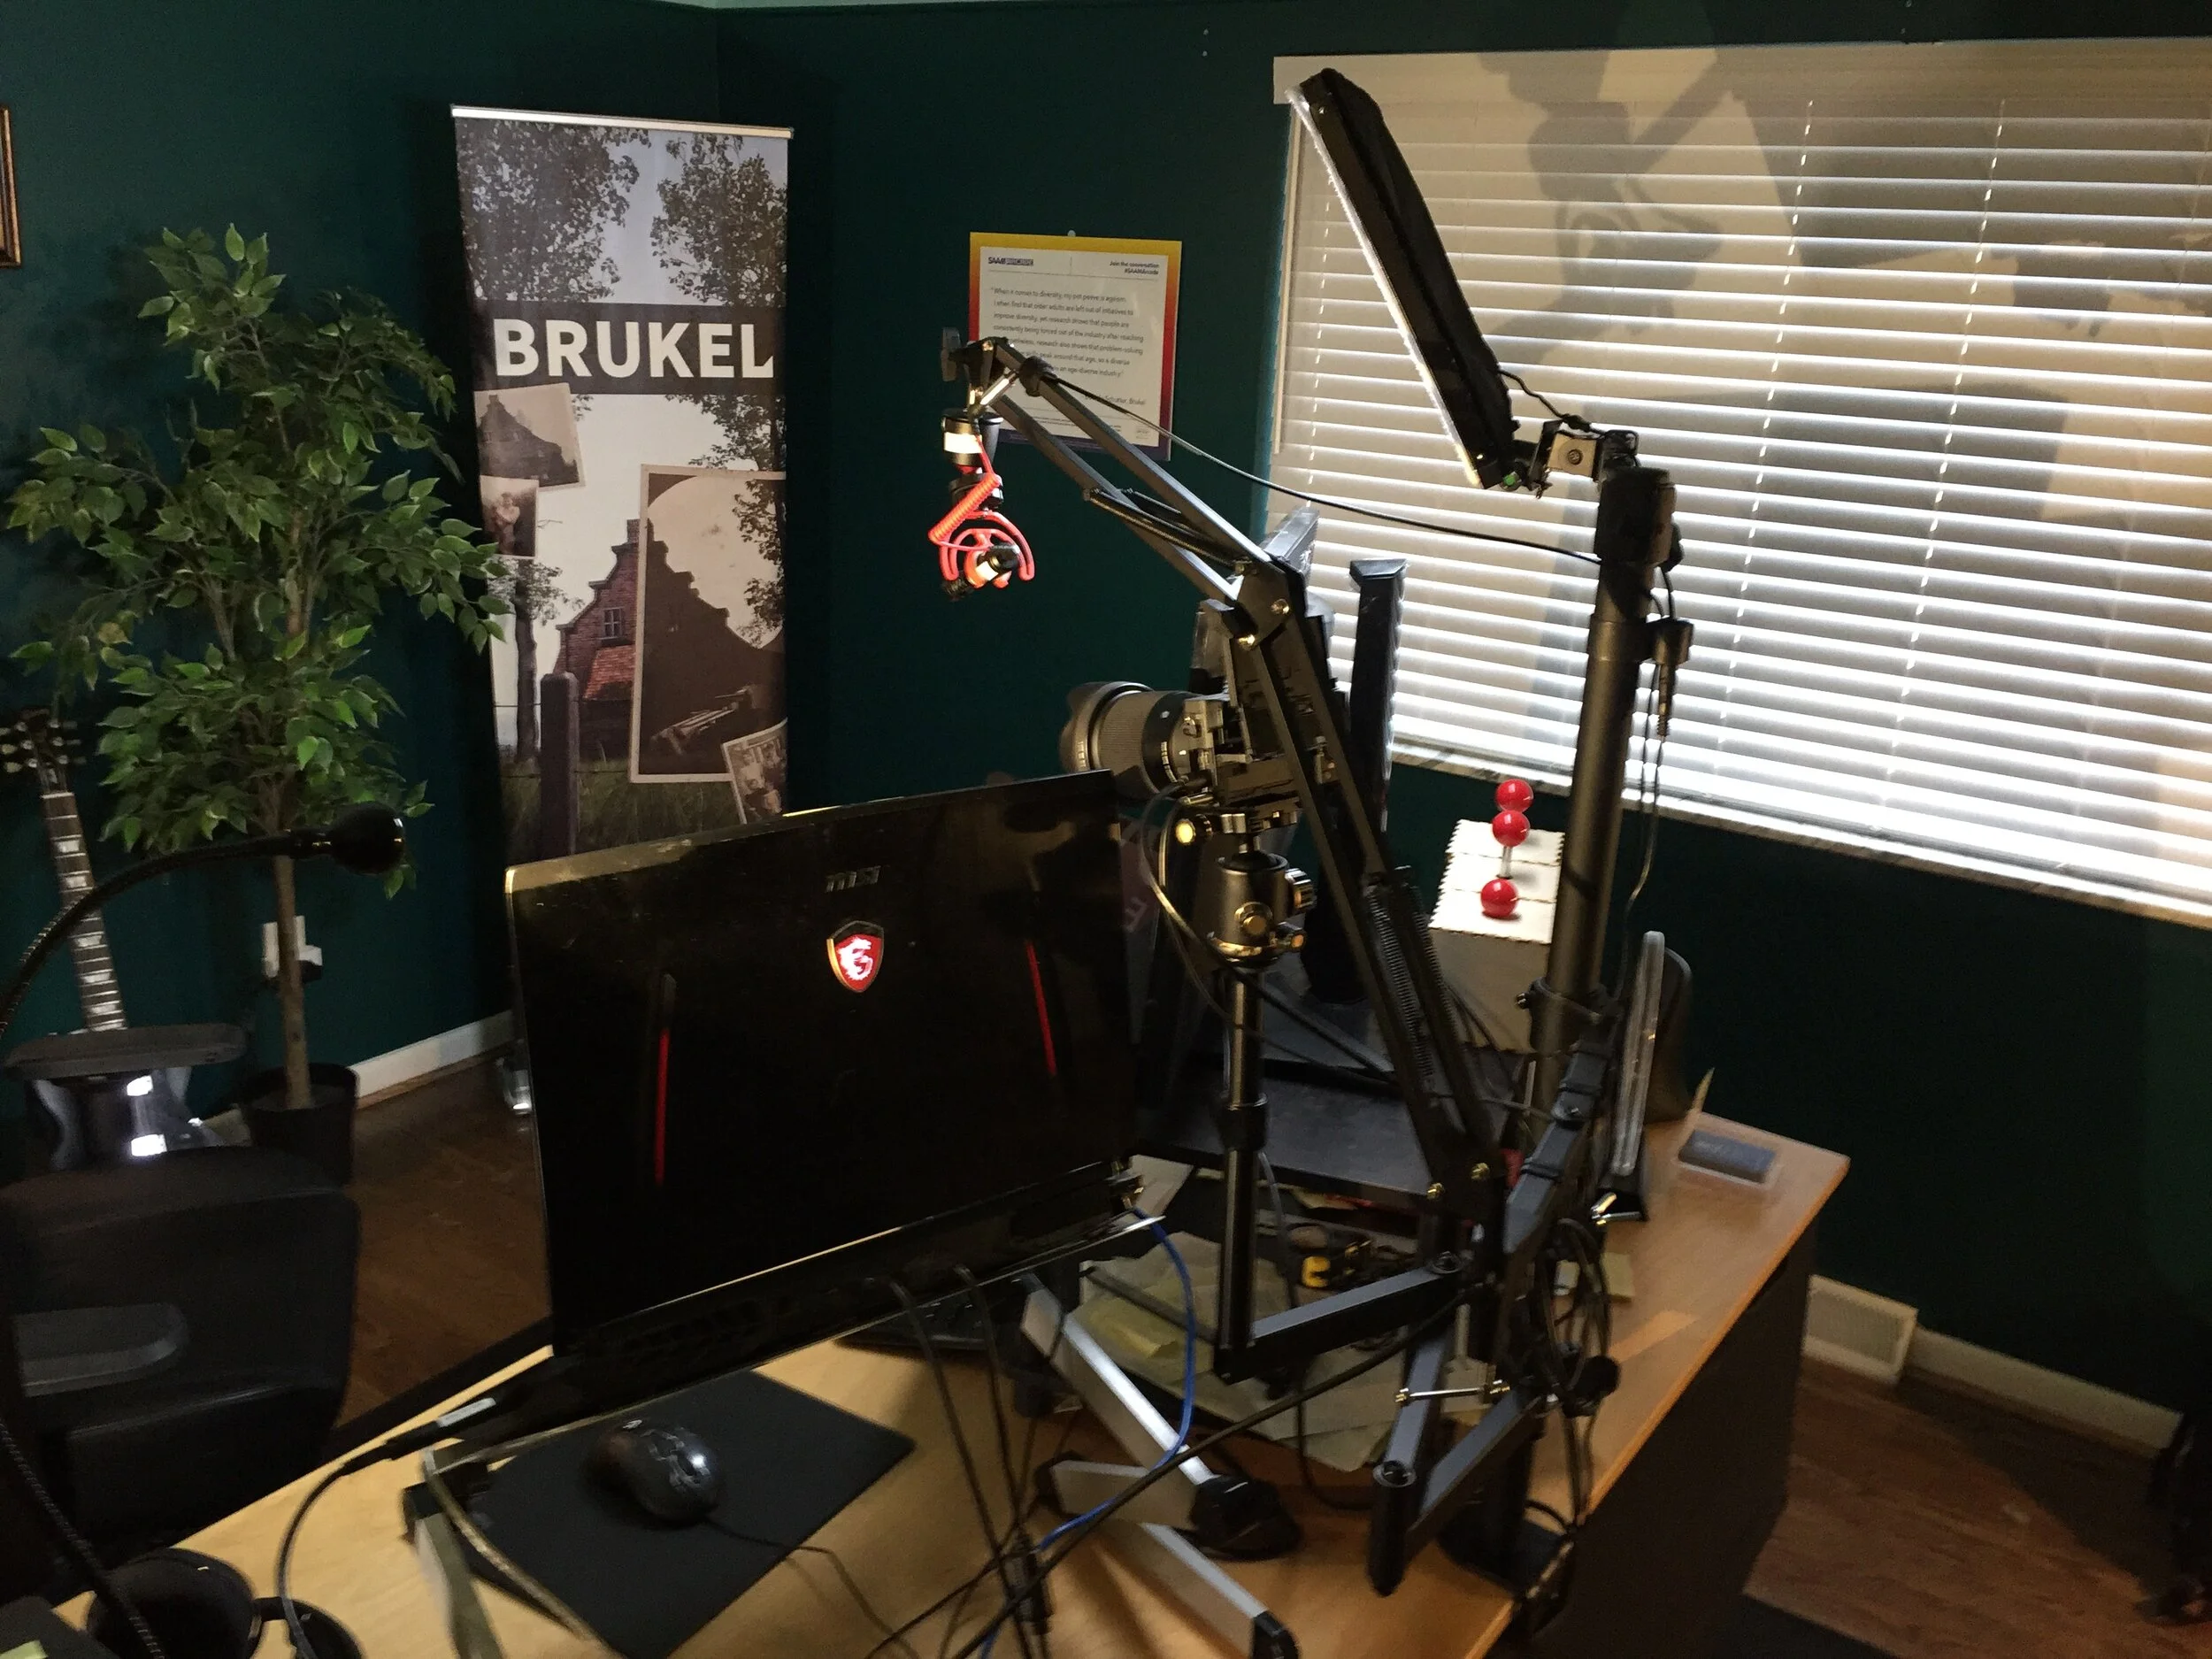
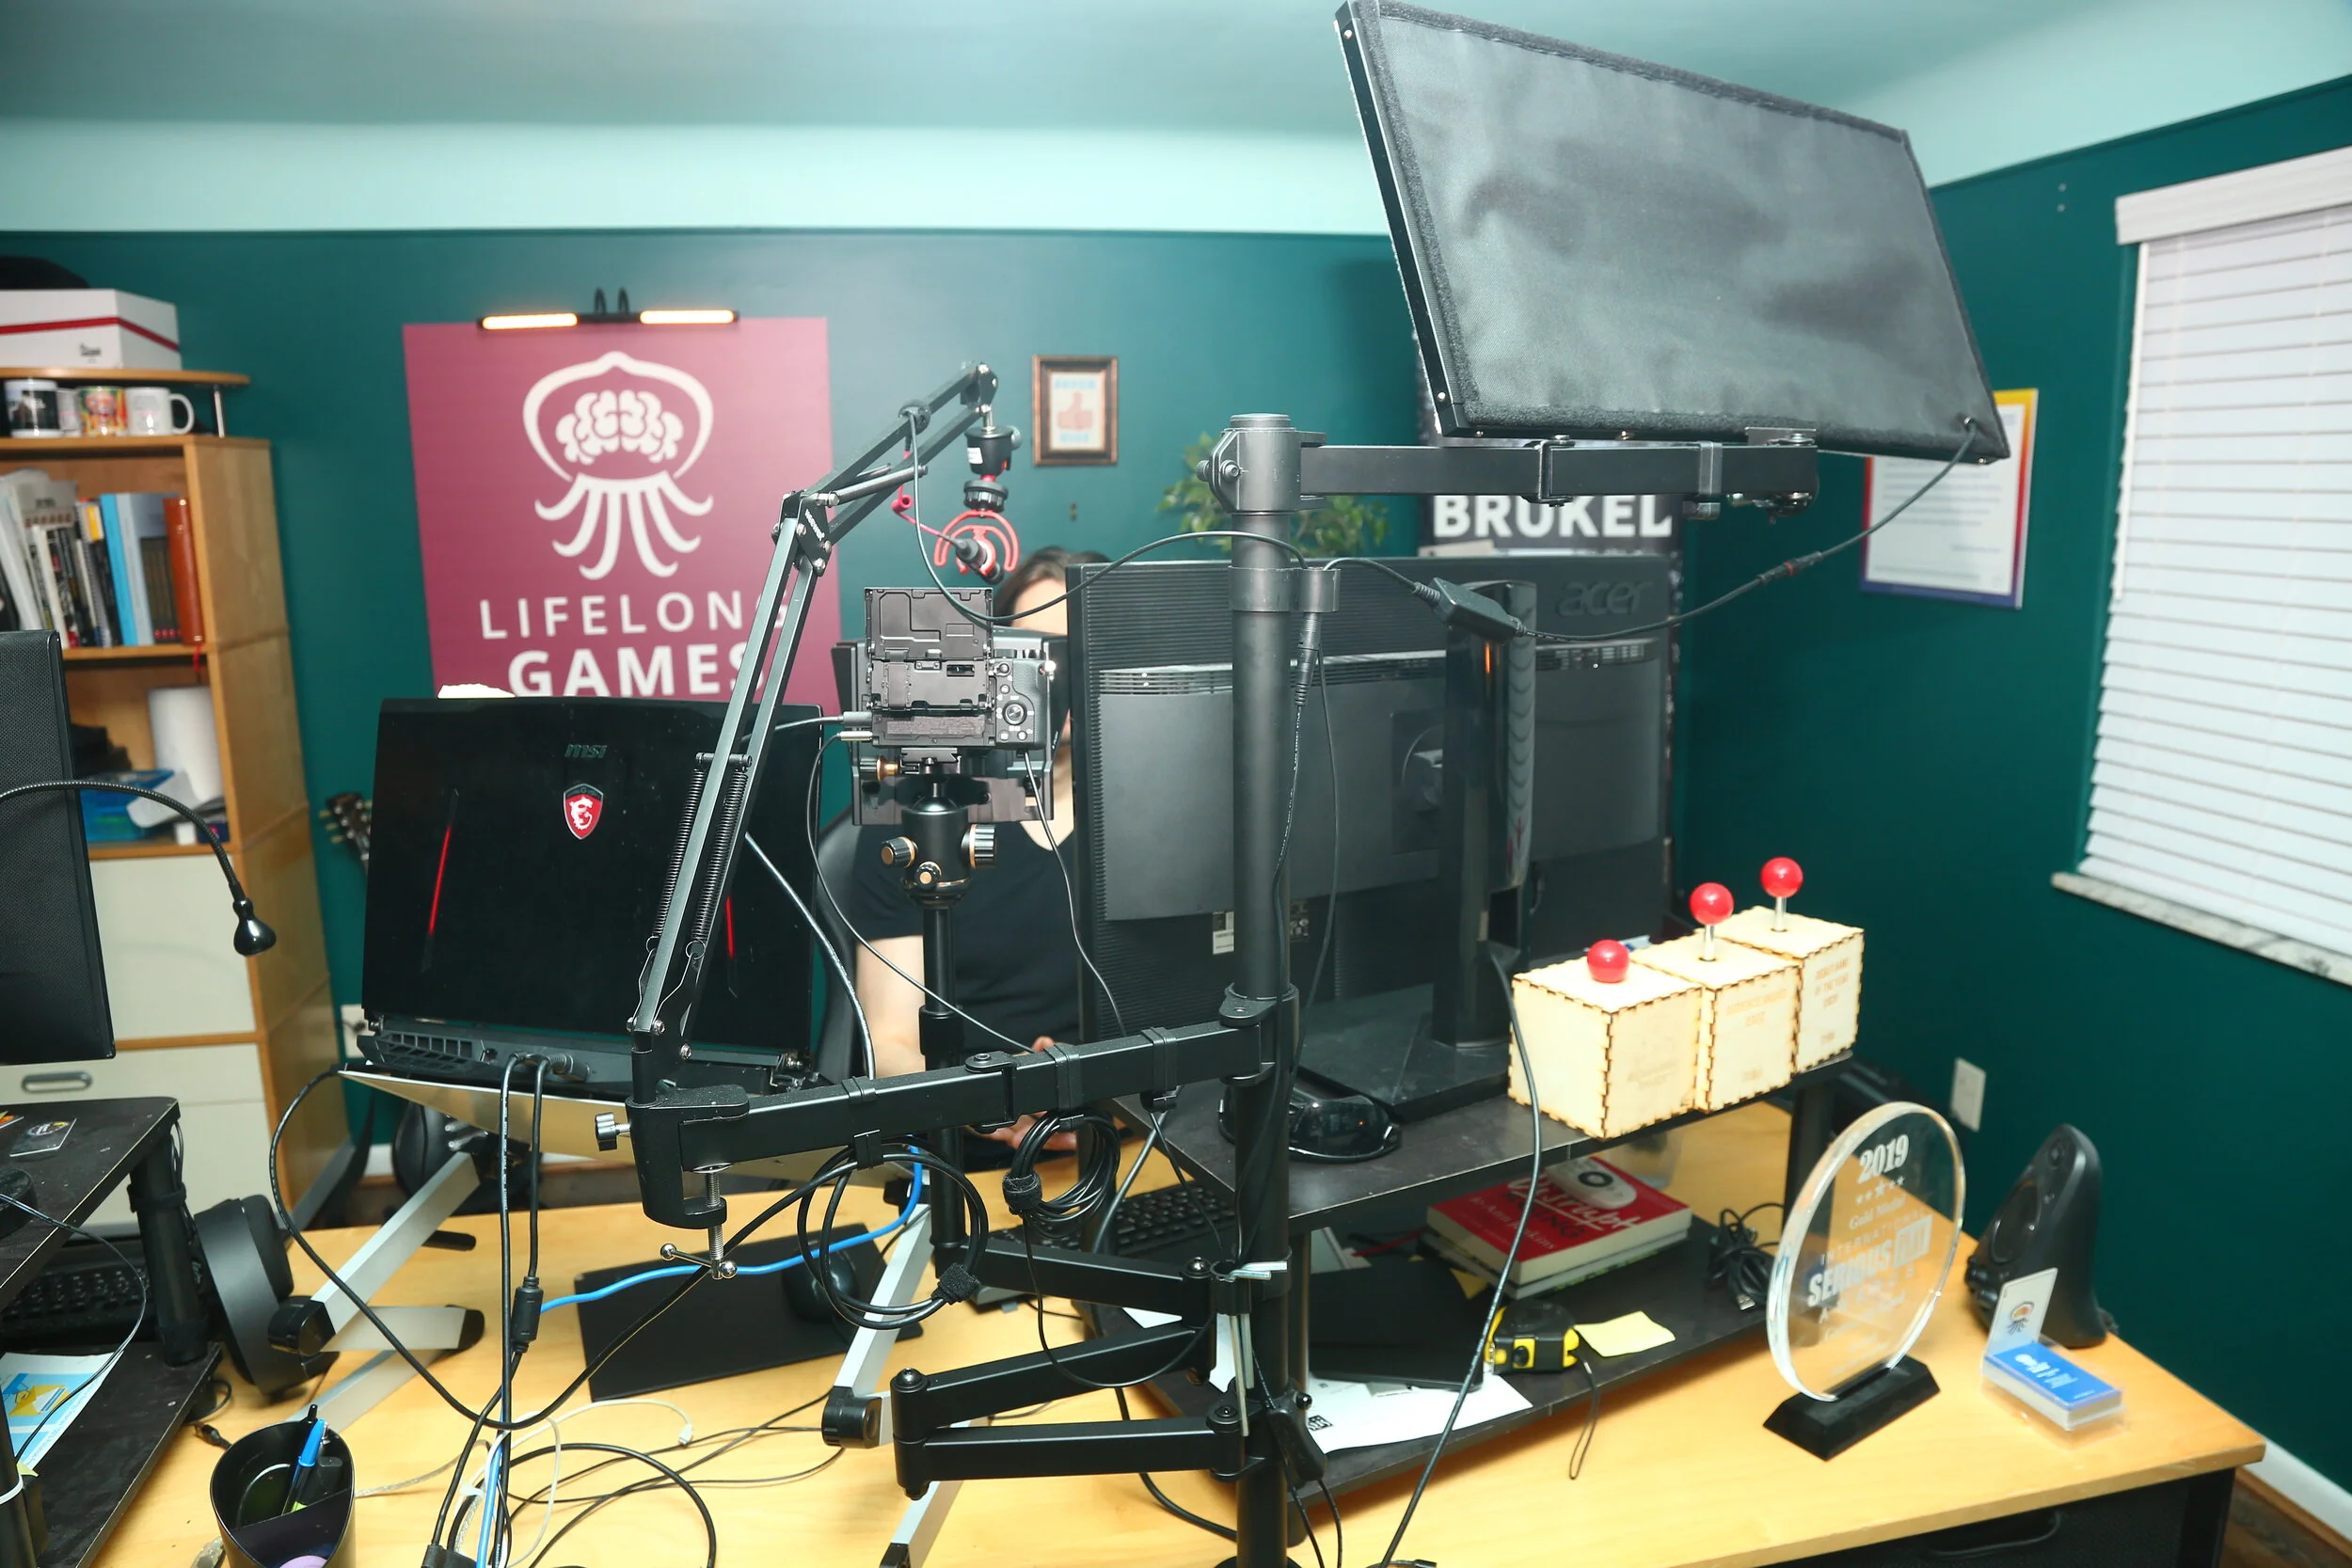
Lighting
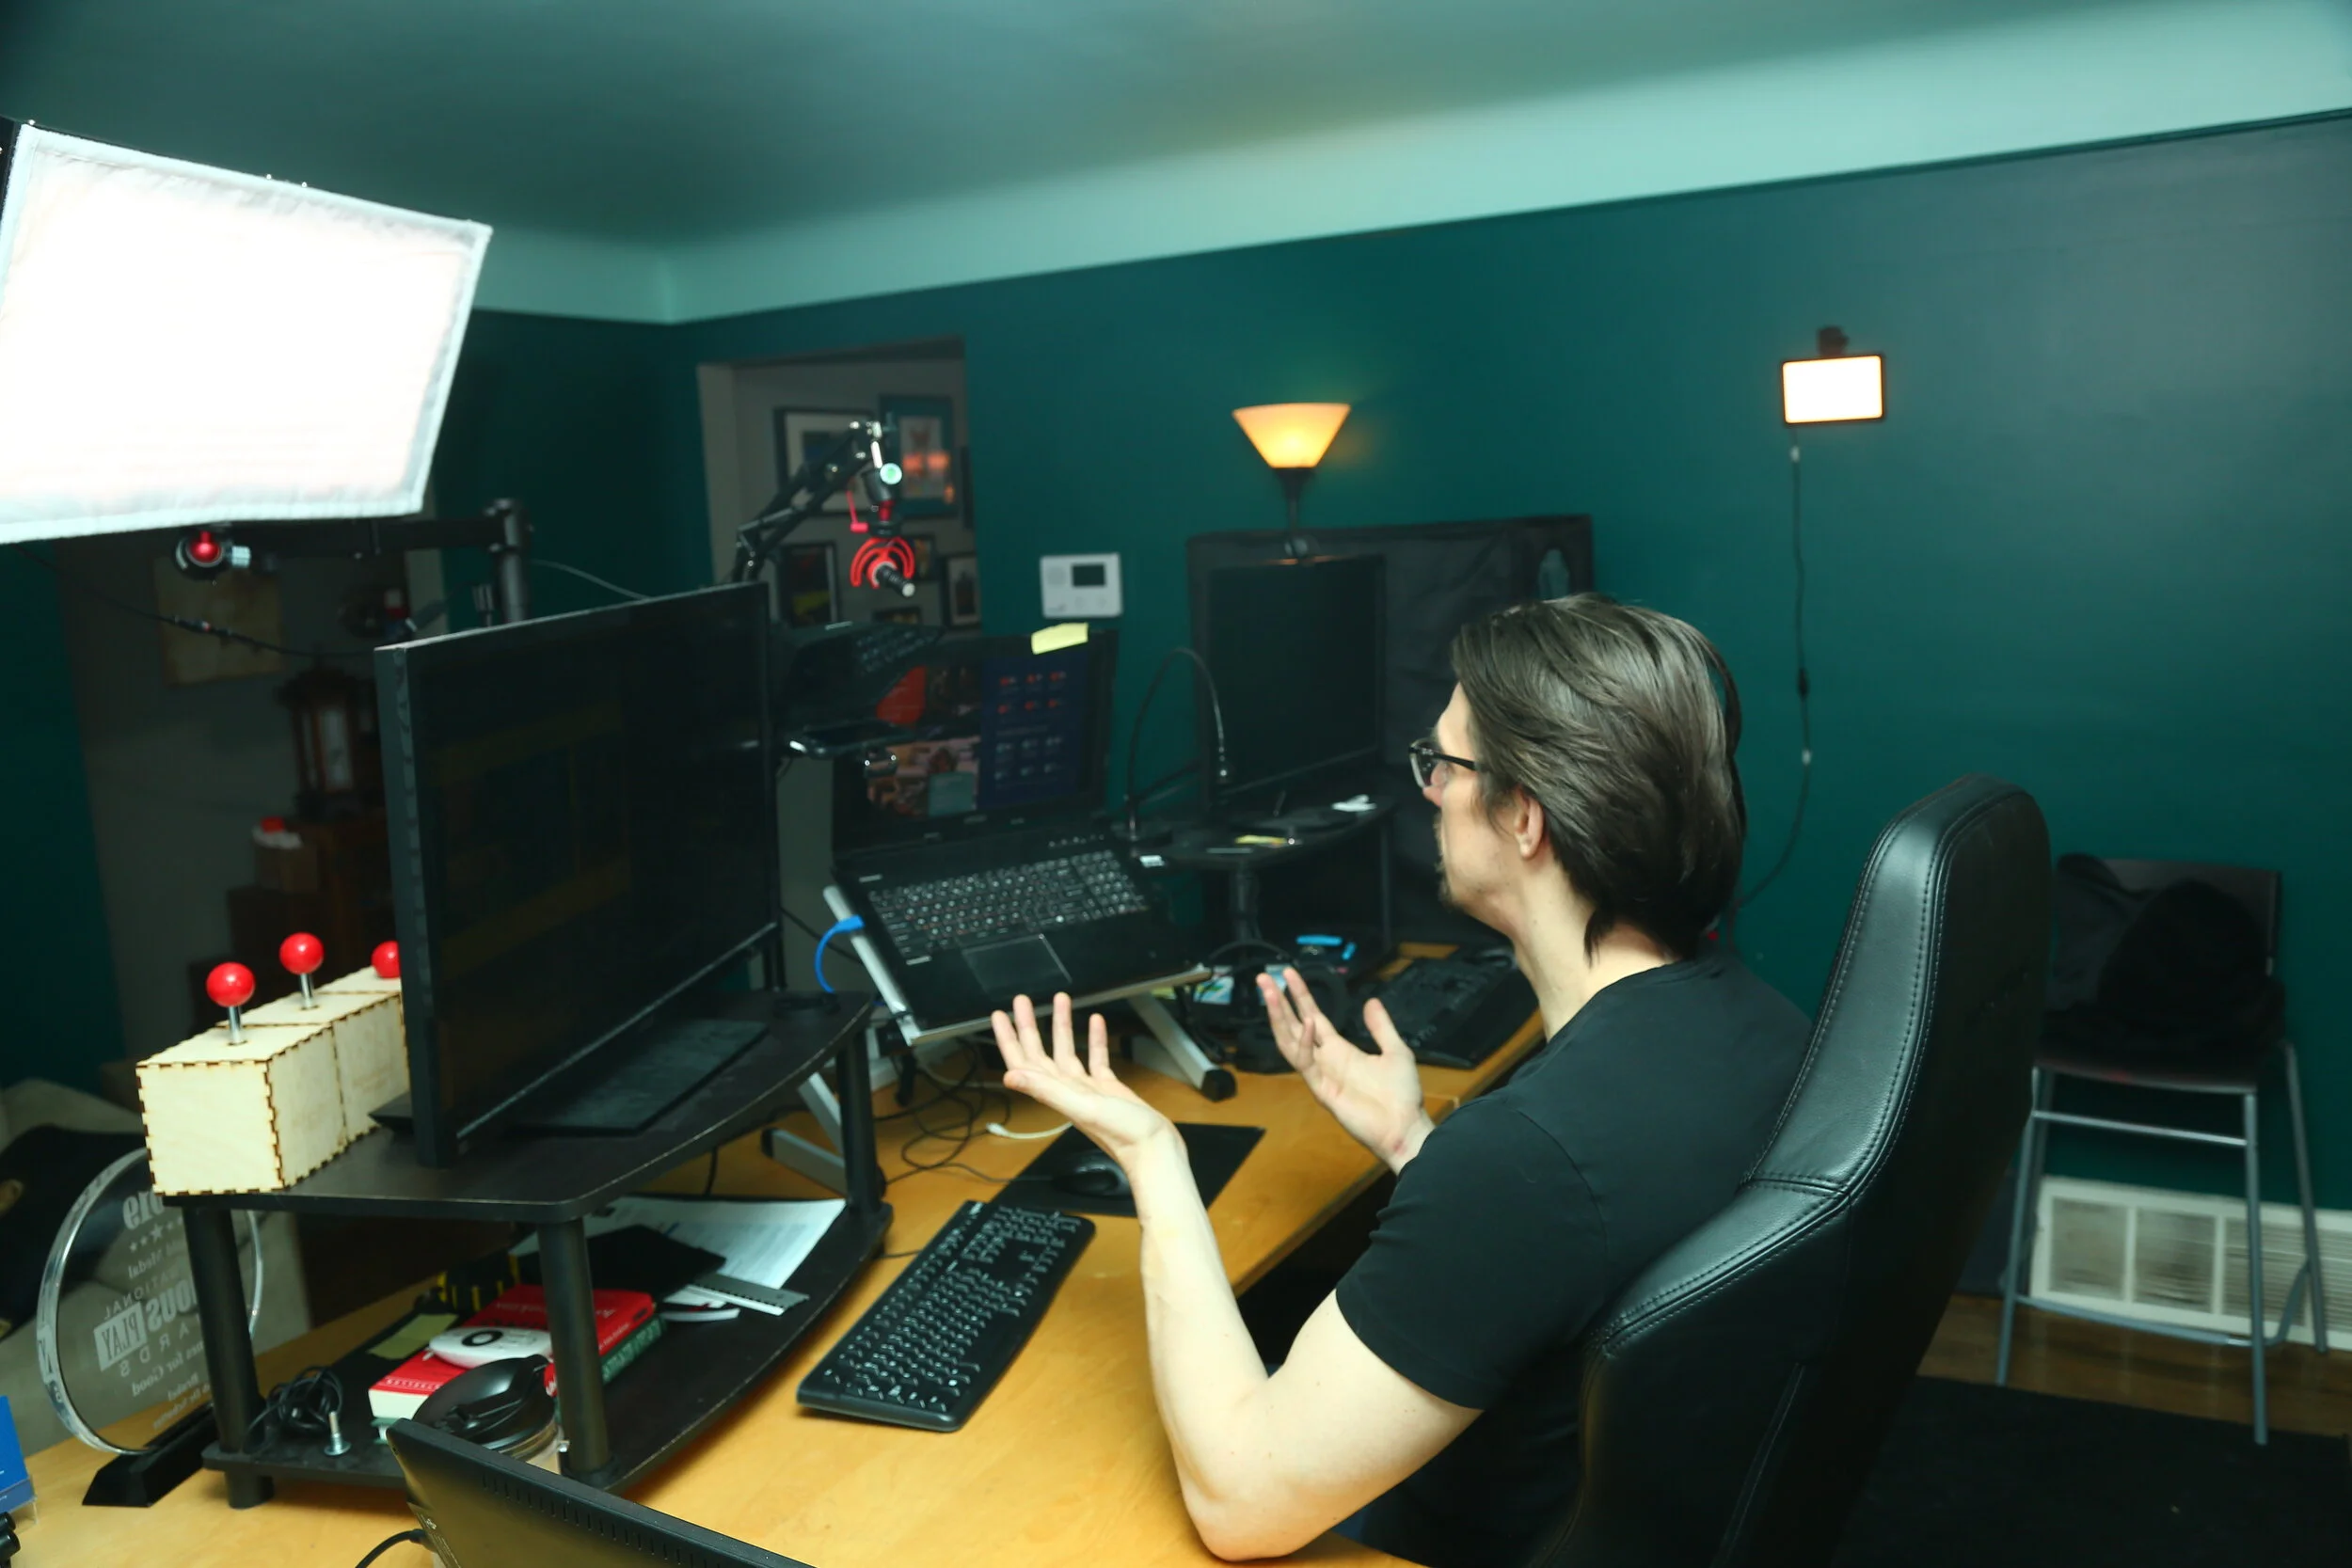
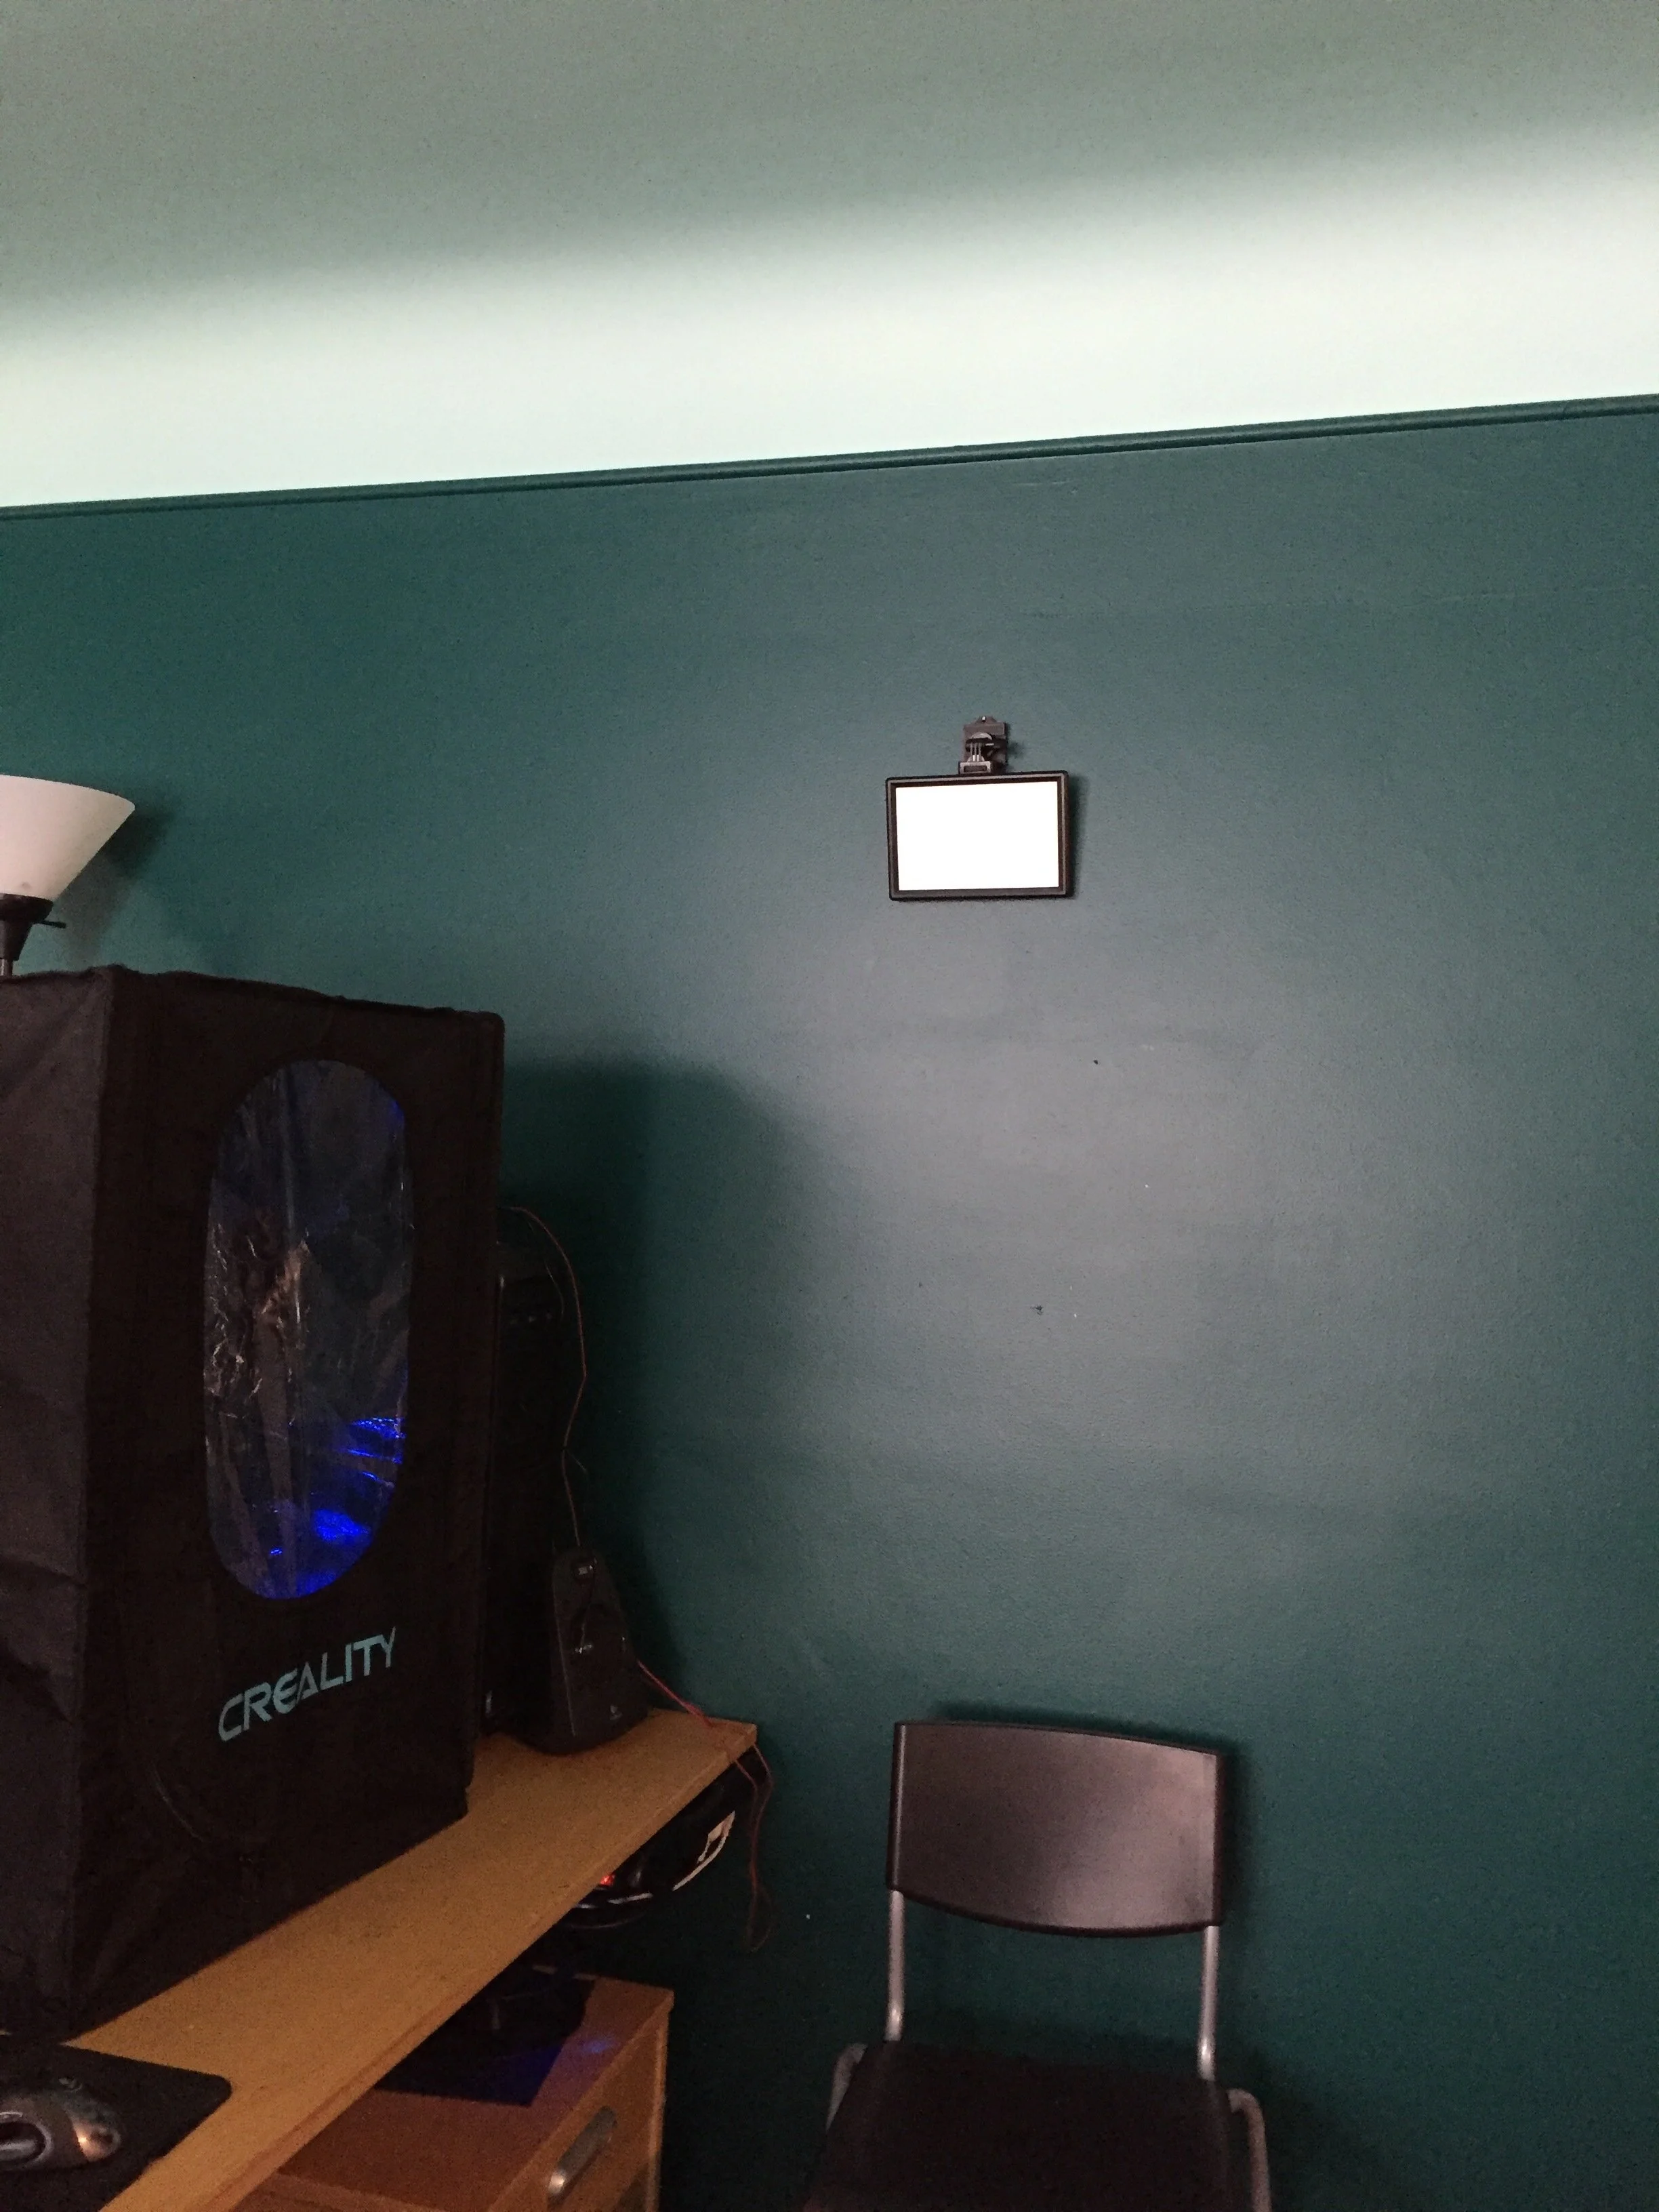
I use a 3-point lighting setup. The room has a large window but I cover it up with thick curtains when shooting. The Fositan FL-3060 key light goes above my main monitor. The monitor itself is set to its lowest brightness to avoid overexposing my face. The Raleno is mounted against the wall as a fill light and it is set to 3200K for a warmer color. Since it is battery-operated, it can easily be moved around and it is strong enough to function as either a fill or a rim light. However, in this setup, an Ikea Brynet in the back provides a rim light to outline my silhouette (and light the Lifelong Games logo).
Mounting
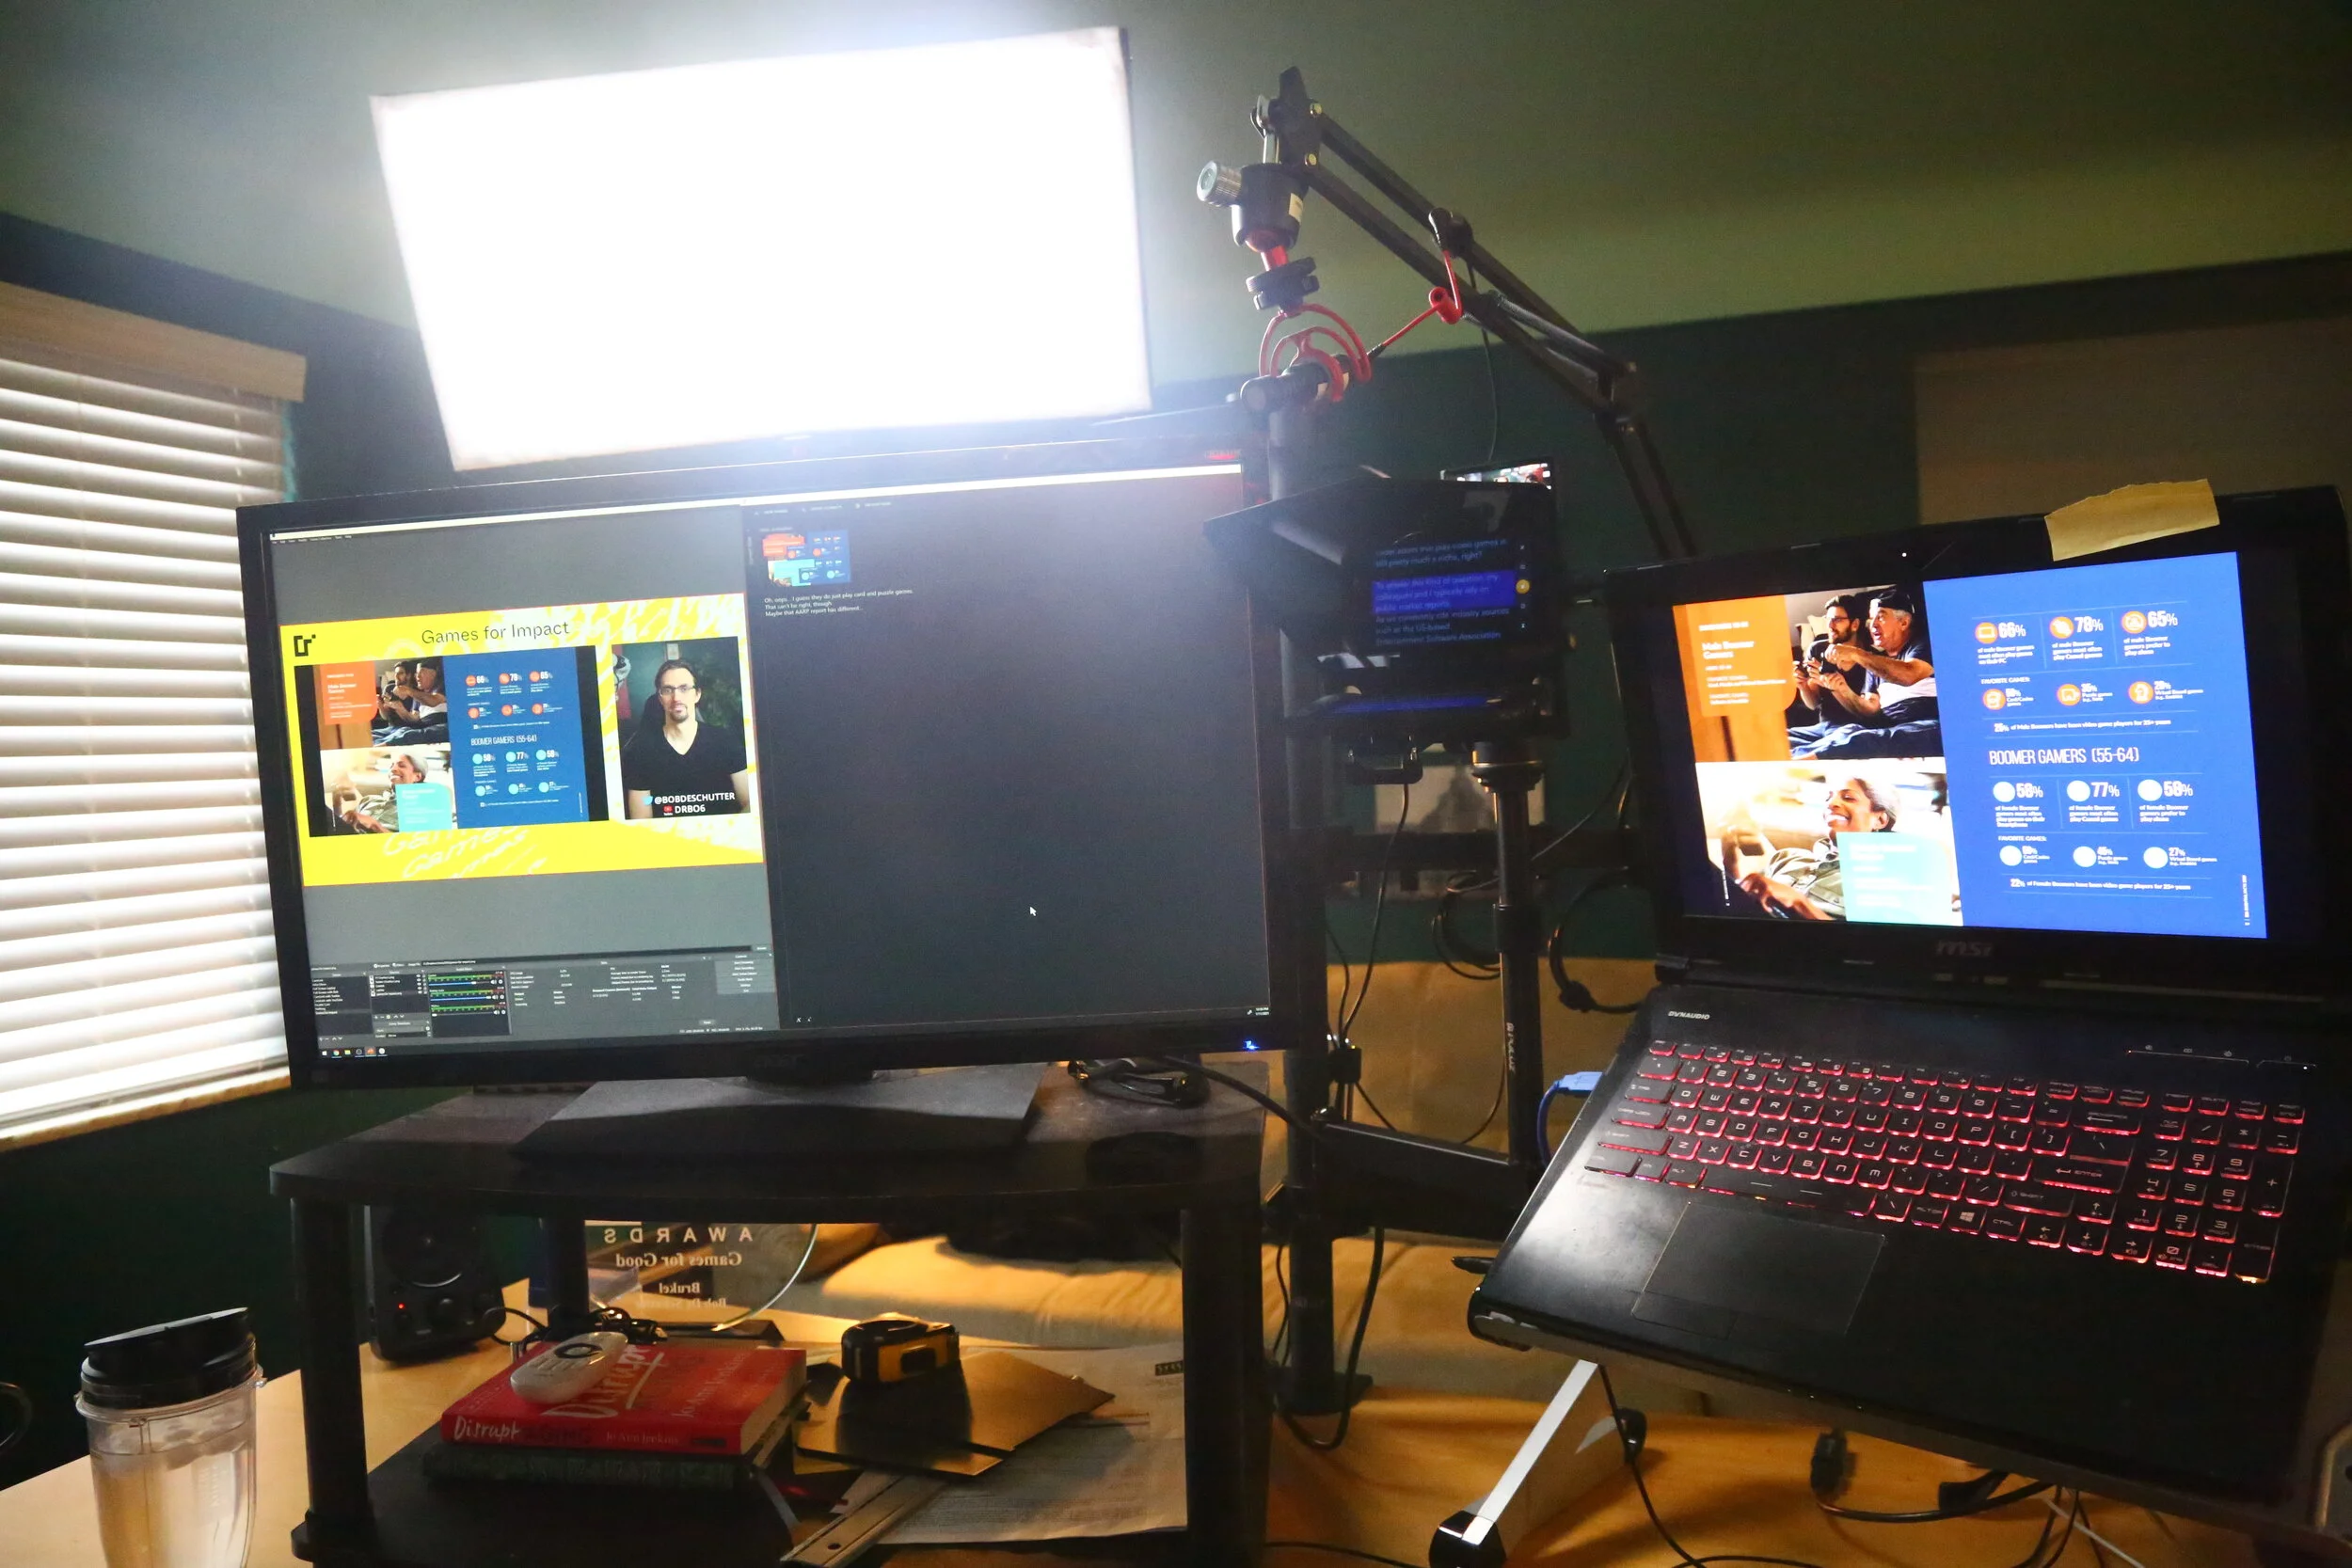
I use a lot of customized VESA mounts for this system, inspired by this YouTube video. The final result looks like the pictures below.

Please note that the Raleno LED does not come with a frame to hang it from a wall, but you can 3D print this adapter that I designed for it. (I used a 0.6mm nozzle, at 0.48mm layer height and 30% infill for a 10 minute print.)
TELEPROMPTER
Some of my videos are recording by memory, but nowadays I use a teleprompter system. It uses a foot pedal to run through the script and a see-through-mirror that reflects an iPhone’s screen back to me so that I can look into the camera. Mine’s DesView but I am not sure what type it is. I use it with an old iPhone. It is important to use a foot pedal as you need your hands to sell the illusion of the teleprompter. There are apps that use voice recognition to get through the script, but I prefer the control a pedal offers, as it allows to add notes on-screen that you do not want to say out loud during recording.
Software
I use OBS for recording and streaming and Adobe Premiere Pro for editing. The OBS VirtualCam plugin allows you to edit your incoming video in OBS and then feed it back to any online video conference software.
DaVince Resolve offers everything you need for video editing as well as audio. For the latter, I use normalizing, compression, EQ, some very minimal noise reduction and occasionally a de-esser. Whenever I need a title sequence or some special effects, I use Adobe After Effects.
Teleprompter Premium for iOS is my teleprompter app. Unfortunately, I have not found a good Android alternative.
ADDITIONAL Tips and thoughts
- When installing the camera, set the A6400 to the video icon on the dial and go into its setting to disable the HDMI info display (menu > setup > tab 4 (or setup4) > HDMI settings > HDMI Info display > off).
- When connecting to the Cam Link, the preview on the camera monitor will go black. To stop the camera from doing this, go to the HDMI settings (following the steps in the previous bullet point) and set TC Output to “On”.
- You will also have to lower the recording volume in the A6400 recording settings to make sure that you are not too loud (menu > movie > tab 2 (or movie2) > audio recording levels).
- While the lighting above is my permanent office setup, I use two Fositan 3960s as a portable key and fill light to record in different locations of my house. The camera can easily be transferred to any camera tripod and the R∅de can be attached to its top.
- The system above has a static 16mm lens. While you can zoom in and out with digital zoom, this is not advised. If you want a less wide shot or record from a greater distance, consider looking into a lens with a different or adjustable focal length.
- This my recording and editing workflow:Set up a Powerpoint that includes all the video cuts you want to do. This is often much faster than having to edit them in.Put your scripts in a separate Word document rather than the Powerpoint notes. This makes it easier to make edits to it, and you don’t have to extract the notes from Powerpoint for the Teleprompter app.Write [click] whenever you need to advance the Powerpoint.Try the script out with the Powerpoint deck. You only have to check the transitions in this stage.Set your speaker audio to zero and make sure to check that your mic and the desktop audio are on. Always do a quick test for both before recording.Record both the Powerpoint and your performance on a 3840x1080. Set the editor to 1920x1080 and zoom the clip at 200%. Swap between both screens in the editor by switching between 960 and -960 on the x-axis.Don’t try to do the full video in one go. Stop the recording every so often and check that everything was recorded correctly.
- The total cost of this system was under $2,000 at the time, including all mounts but excluding the editing software.